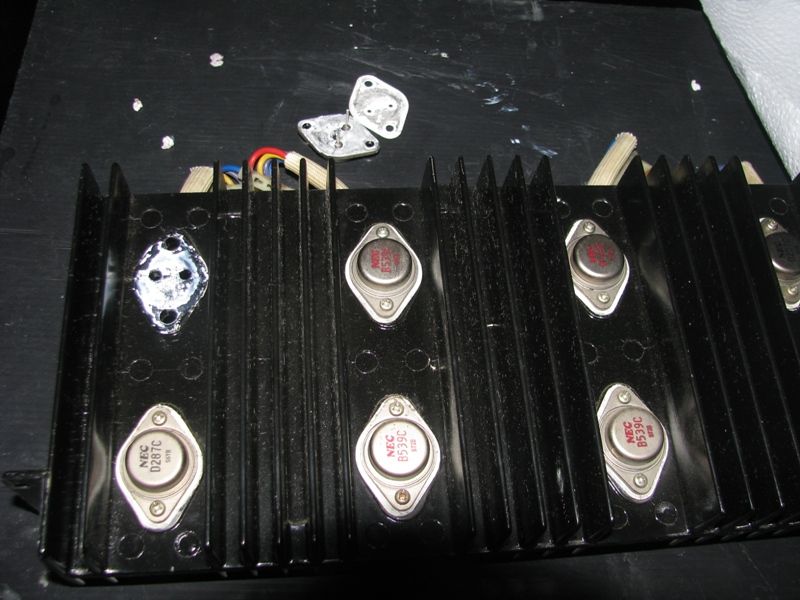
Cleaning output transistors....YIKES At first I did not want to touch the output transistors for fear of screwing up, I asked around what is the benefit of cleaning / regreasing the transistors. Response was that for older units the thermal grease dries up and no longer conducts heat away from the transistor, resulting in over heating transistors when the amps is pushed too hard, basically you end up with a burnt out transistors. kinda like changing oil on an old car before racing it

. Since I "race" my amp on occasions ;D I decided to go for it...
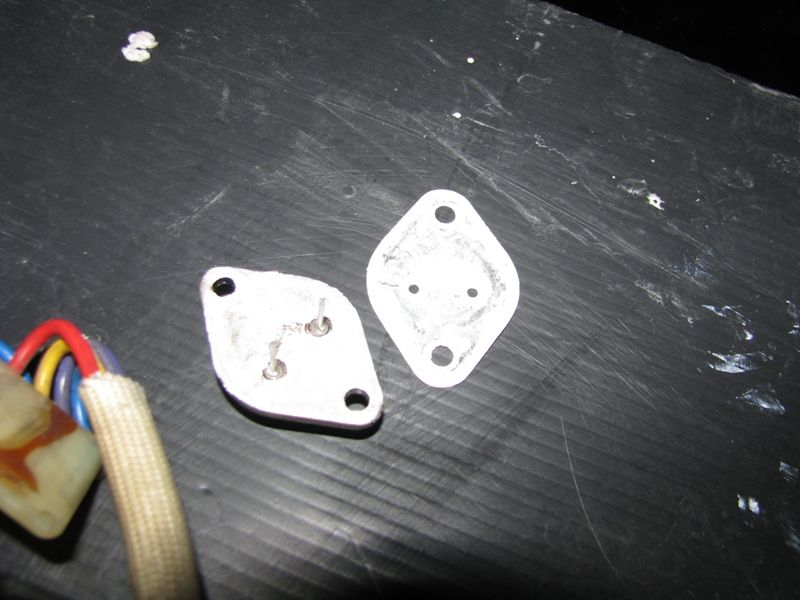
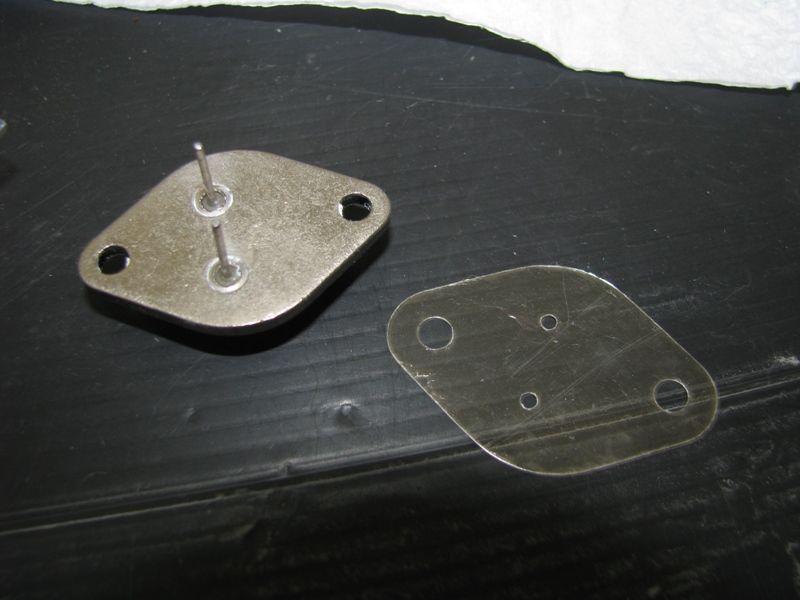
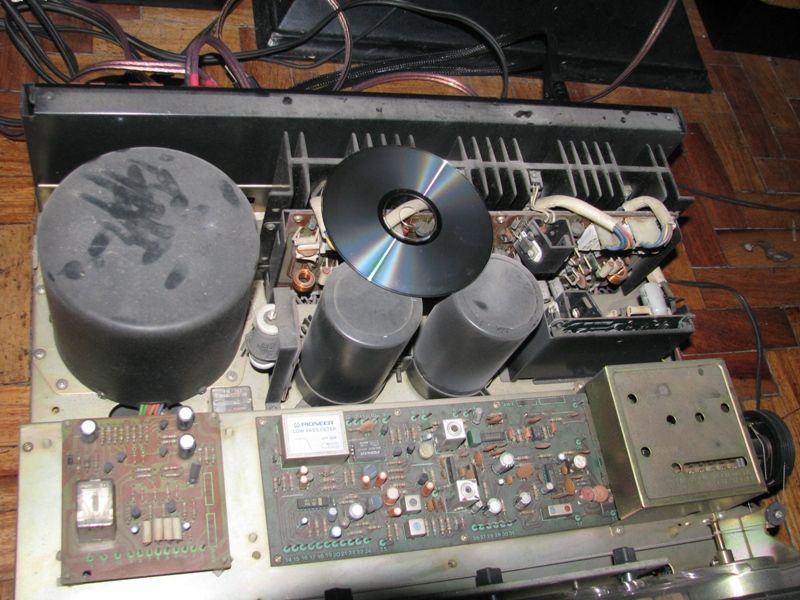
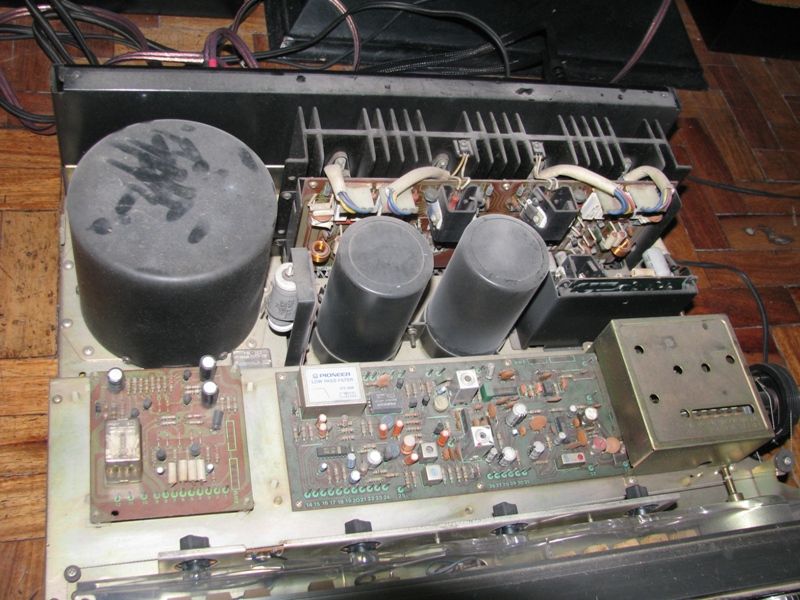
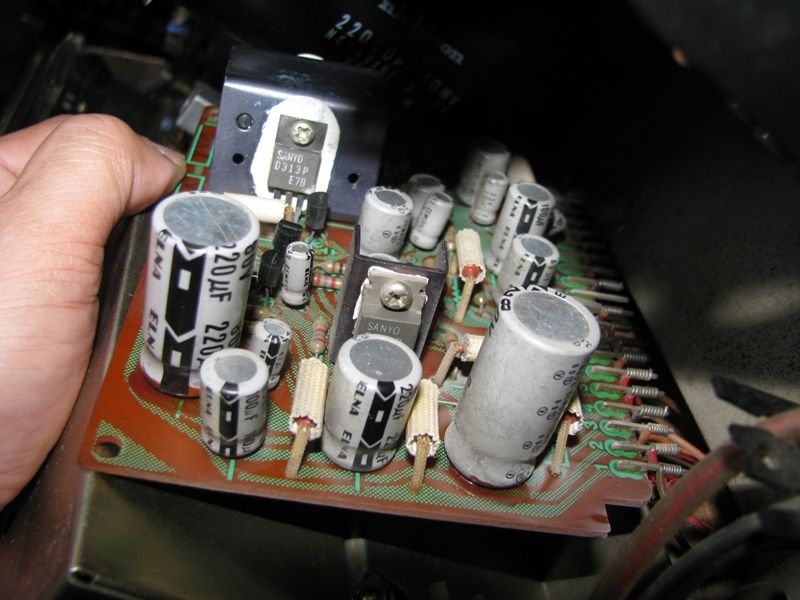
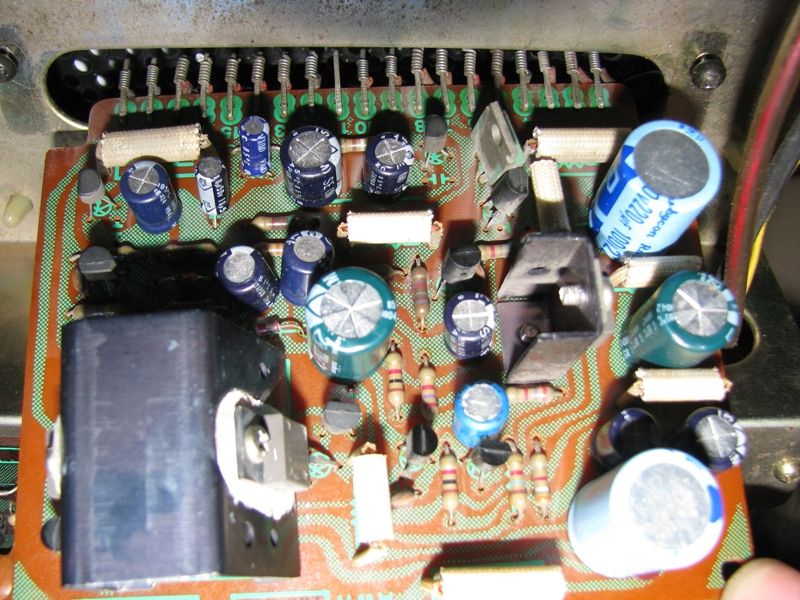
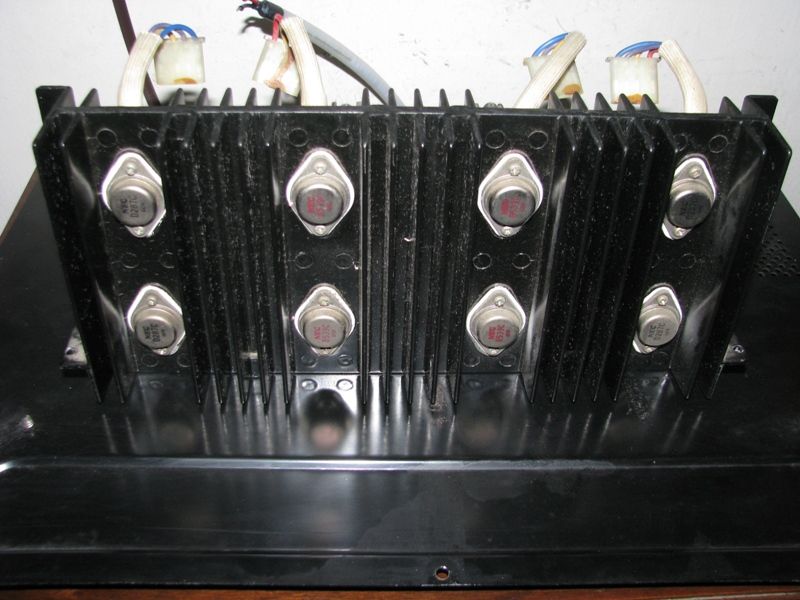
cleaned transistor and new insulation mica
Basically you remove the transistor, cleaned with tissue or clean rag. Apply THIN layer of NON CONDUCTIVE Thermal grease on both sides of the insulation mica and put the transistors, clean the pin and install....
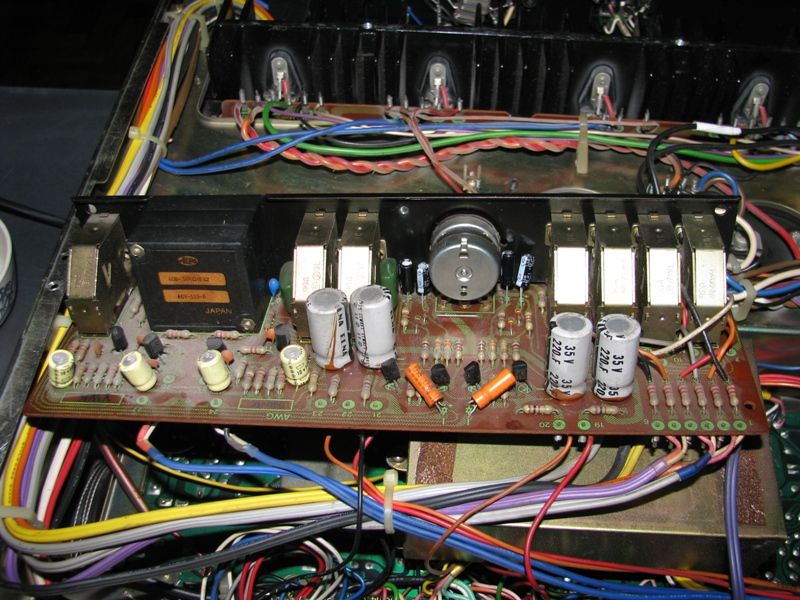
I also regrease all those smaller three legged transistor
I used Unick thermal grease, 80 php at Watsons for a small size tube
This was one of the easiest process in the restoration.. a bit messy though as the grease sticks to everything, have a roll of tissue when you do this
 will add more to this,.. still need to do the tuner section and Tone control section


 makes blowing amps a lot faster and I can plug a soldering iron.. thats the extent of my electronics skills